For this year’s Ottawa Comiccon, my Friday cosplay will be Professor Trelawney from Harry Potter. I had originally planned to have this cosplay ready for a New Years Eve event, but I became ill and had to take a break from it. So, since I already had a decent amount of work started, I figured it would be perfect for a “casual” cosplay for OCC. The outfit itself is made up of various pieces of clothing that I either purchased or already owned, so the wig is the only part of the cosplay that I’ve constructed. I decided to make a yarn wig a) to save money, and b) because it’s what I do.

I have seen and heard of many cosplayers using yarn for wigs and fur, but fraying the yarn so that it looks more like hair/fur and less like yarn. I had originally planned on doing this but now I am having second thoughts. Although fraying out and fluffing up the yarn would have been a good look for my Trelawney cosplay, my two main concerns are time and appearance. Although my other cosplays are coming along well, I still have quite a lot of work to do on my Abe Sapien and Iron Fist cosplays; I would rather get all of my cosplays done before taking the time to work on what I have heard can be a time consuming process. I am also quite pleased with the current look of the wig, and given that my previous yarn wigs are all constructed in the same way, I figured it would be more in keeping with my classic Yarn Monster image if I leave the wig as is. Besides, this is something I can change easily later on when I have the time if I feel like it.

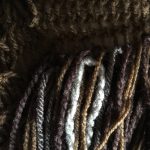
For supplies for this cosplay, I decided to go a different route. Because I had originally planned on fraying the yarn, I didn’t want anything too sturdy. I used a mixture of yarn from a local dollar store, as well as scrap yarn from my stash. Altogether, there are approximately six different textures/colours of yarn used in this wig. By mixing different colours, the hair has a more “natural” colour palette as human hair is rarely just one tone/colour.
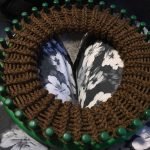
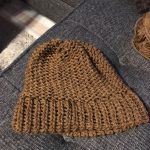
I began, as I do with all of my yarn wigs, by knitting a hat on one of my circular looms. This hat has a brim in it made by folding the first few rows up and knitting them together. Then I keep knitting until the hat reaches the desired length.

Once the hat was complete, I began to make the hair. This is the easiest, and yet most time consuming, part of any yarn wig. For yarn hair, I roughly measure my hairs to the length I want them to be and double it. I then cut out as many hairs of that length as I can from the various colours. The hairs for Trelawney are the length of my extended arms – from fingertip to fingertip. To keep them all together during construction, I usually keep all the individual hairs in a ziplock bag.
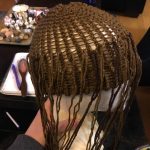

To attach the hairs, I tie them into the loops in the yarn hat. Each hair is threaded through a loop, and when the middle of the hair strand reaches the loop I double-knot it in place. Every single strand of hair is tied on one at a time. Some wigs have a strand of hair in every single loop on the hat, but for Trelawney the brim and the first few rows after that have no hair. That is because I will be tying a scarf around my head – with no yarn on the rows where the scarf will be, that part of the wig will be less bulky and the scarf will sit better on the wig. Plus, this wig is heavy enough as is.


Because of the weight, I have stitched a cloth/elastic headband from the dollar store into the brim of the hat. This way, the elastic will help the wig get a better grip on my head. And this will be hidden by the scarf, which should add some additional reinforcement for keeping the wig securely on my head.
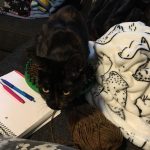
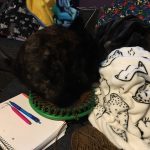
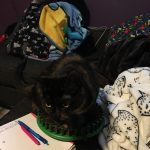
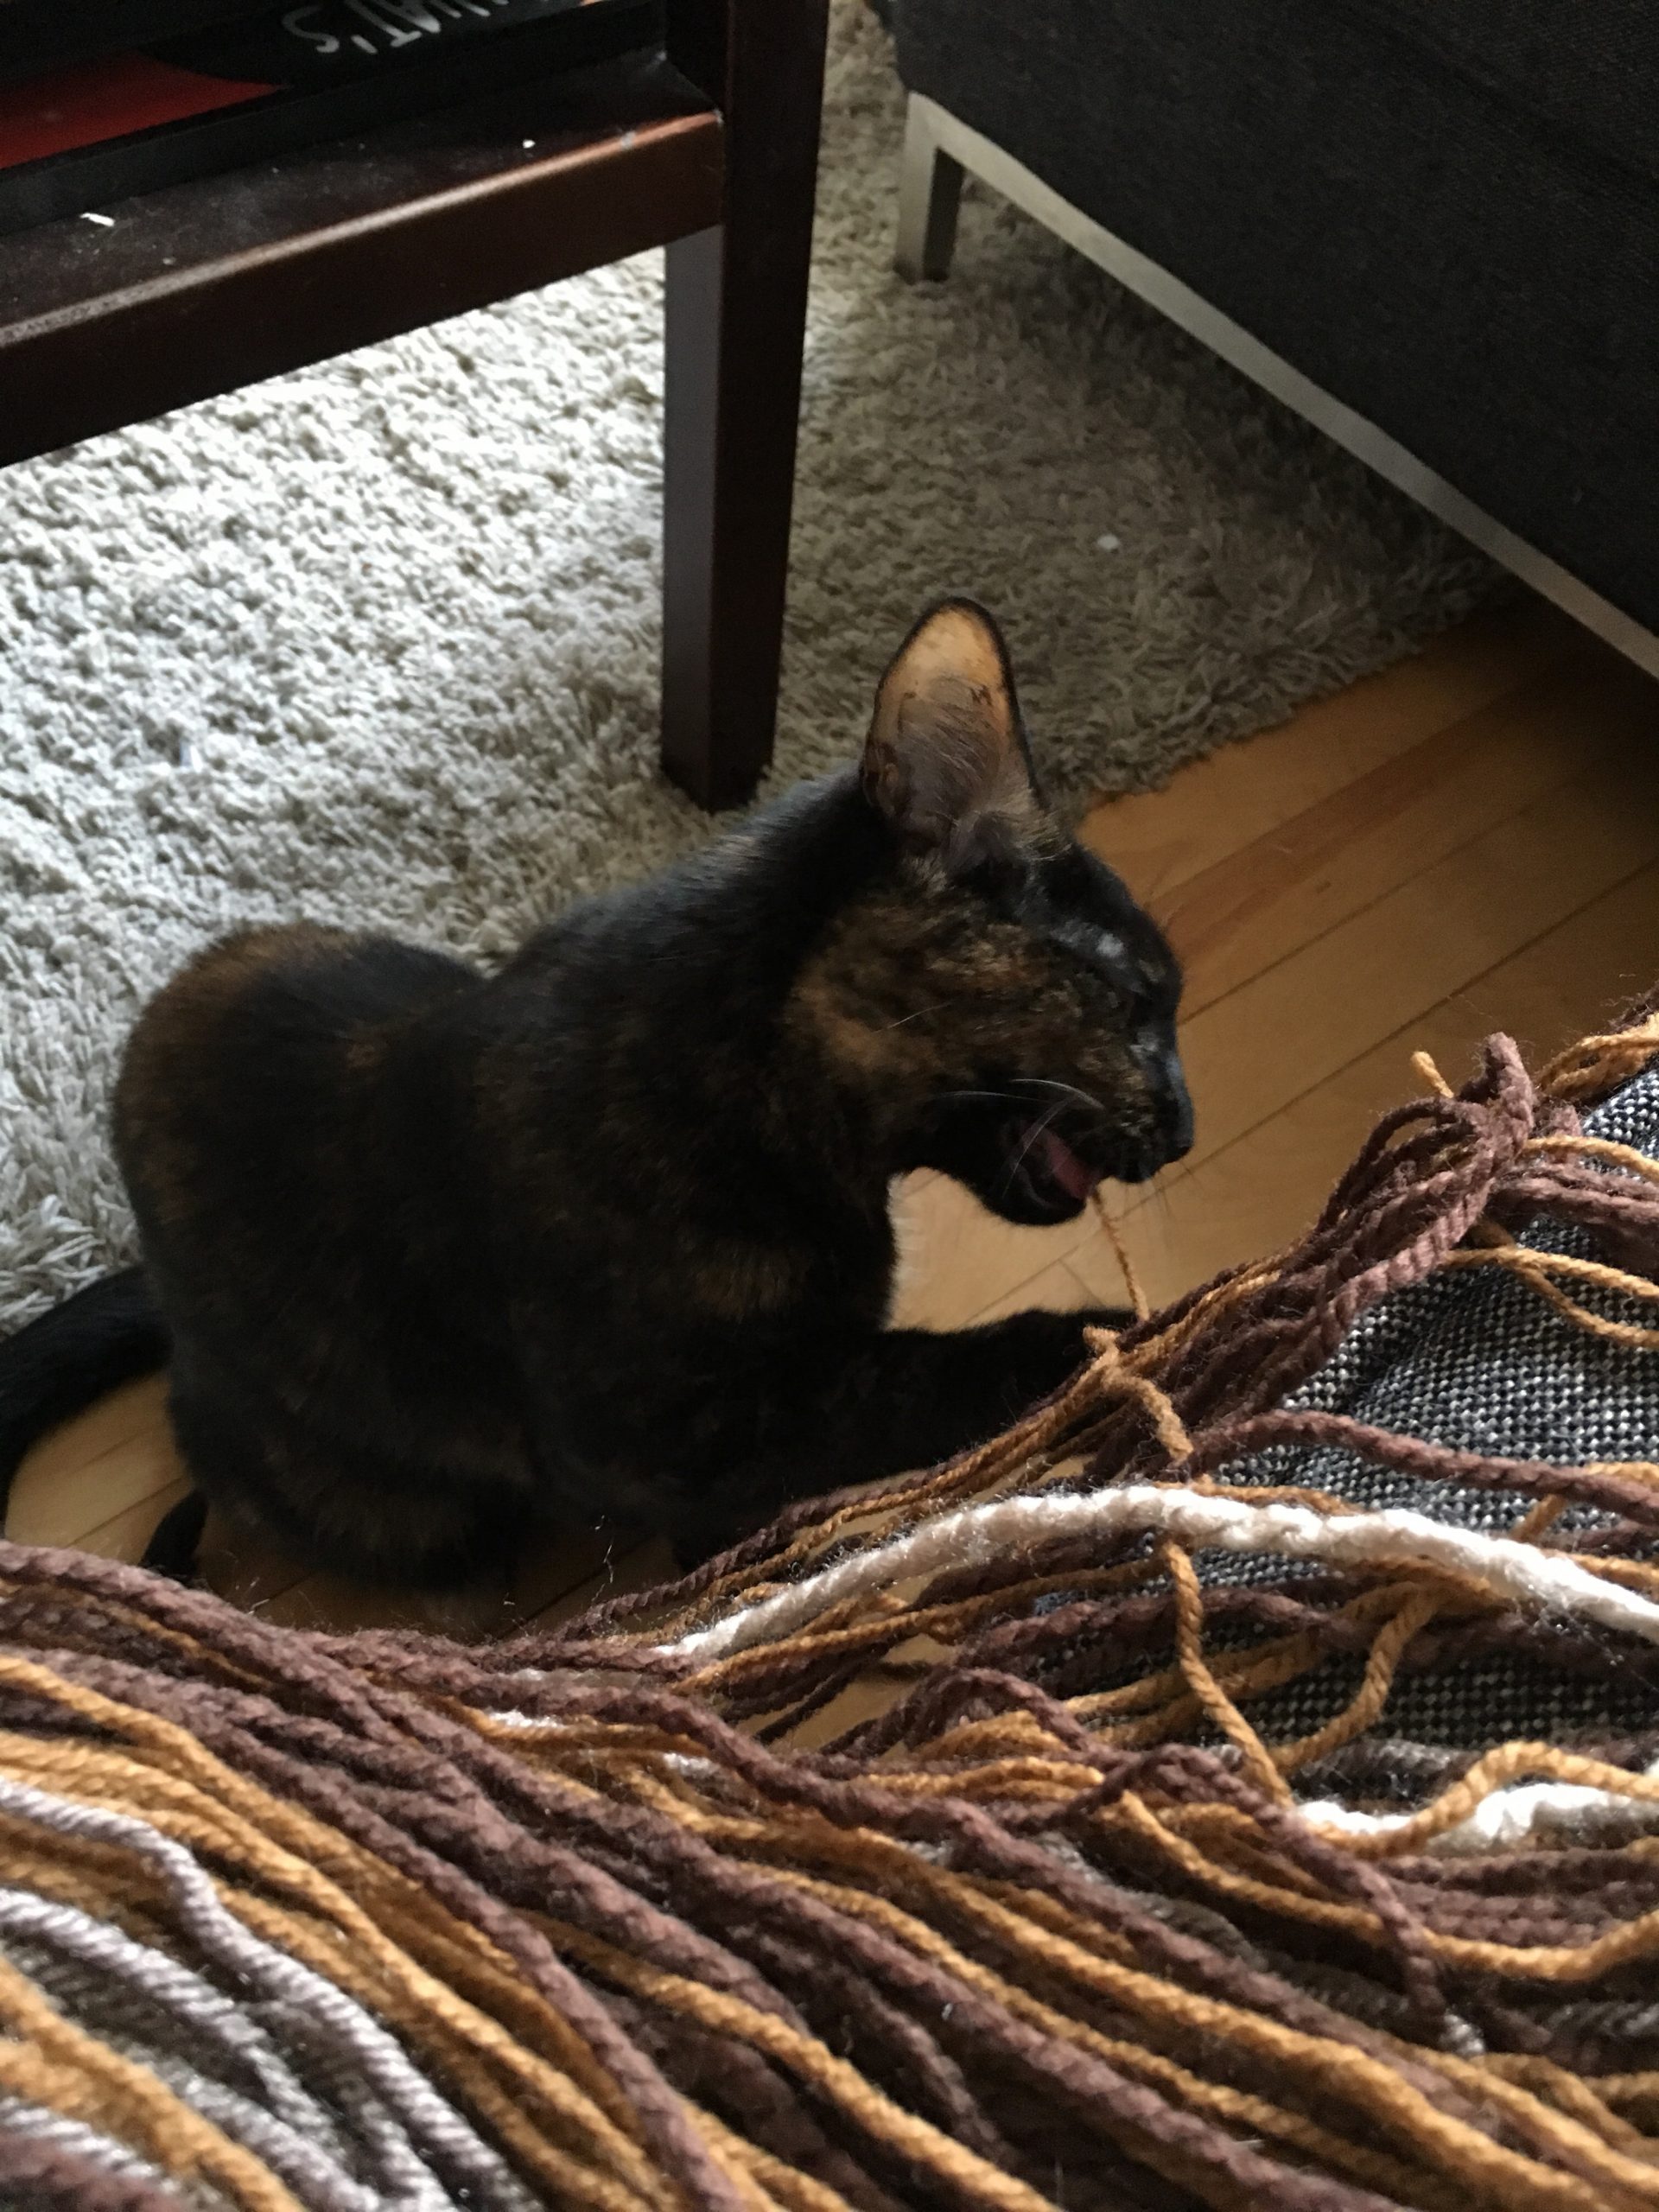
This yarn wig took just over 7 hours to complete! And my supervisor for this project was Minerva.